Finalizer
Analyzer
Reference Tracks
The REF button in the COMPARE section at the top right of the display allows a quick comparison of the current work, compared to your favourite reference tracks. REF tracks will be shown in the SPECTRO LAB views (SDC, RTS and AVG) in the same way as your source (A) and processed (B) file.
Up to 20 Reference tracks can be loaded into a list and used to quickly compare your work.
Note that although a copy of the original audio source file may be included when saving a project, only the links to any reference files are saved, not their original files.
Also note that a reference track cannot be loaded until a source track has been loaded, thus defining project sample rate etc.
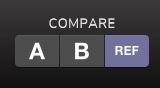
The Compare section is where to select which track/source to playback, and this is also reflected in the SPECTRO LAB, Timeline and Master Meter section. The three buttons make it very easy to switch back and forth between the sources for comparison.
Note that each of these modes has a different colour button, and this corresponds to the colour of the curves in the SDC, RTS, and AVG displays, and in the horizontal timeline display.
Using REF
- The first time REF is used, the display will show that the list of reference tracks is empty.

- Reference tracks can be added either by drag-and-dropping them into the SPECTRO LAB area, or by pressing the “+” in the REF TRACKS area to the right of the display.
- As you add reference tracks, they will appear in the REF TRACKS list.
- Tracks can also be deleted from the list by selecting the trash can icon next to the “+” button or by pressing “Backspace” or “Delete”.
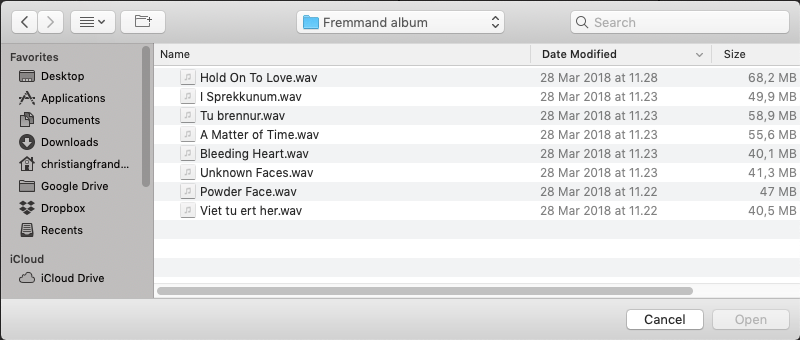
- If you are adding the tracks using the “+”, you will be prompted to browse for the file on your computer. The following is an example of the display that appears. Once selected, the reference file will appear in the REF TRACKS list.

- If several REF tracks have been added, select the track by clicking in the REF TRACKS list, and its name in the list will be highlighted, and the track will appear in the SPECTRO LAB display.
- The current reference track’s parameters will appear in the EDIT View. An example of this is shown below:

EDIT View
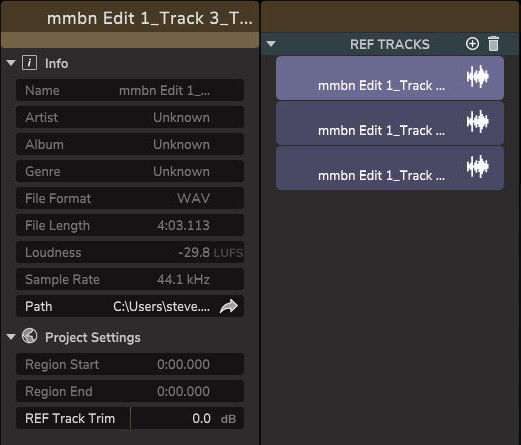
The Parameters in the EDIT View of a Reference Track are as follows:
Info
- Name (filename) of reference track
- Artist
- Album
- Genre
- File Format
- File Length
- Loudness
- Sample Rate
- File path
- Note that you can click on the arrow at the right, to enter a new browse window to search for a new ref track and load it in place of the current one
Project Settings
- Region Start (if a region has been set, see below)
- Region Stop (if a region has been set, see below)
- Reference Track Trim
Regions in Reference Tracks
If you are working on the chorus in the source track and want to compare it to a chorus in the reference file only, it is very useful to set a region in the reference track that can be played back looping.
- The selection or creation of a region for a reference track is done in the same way as the A/B track: click and drag in the top section of the Timeline Display.
- The region start and stop times will then be shown in the Project Settings area as mentioned above, and these times will vary if you adjust the times by dragging the left or right of the region in the timeline display.
- Note that each of the reference tracks can have a different region.

Reference Track Trim
The manual REF Track Trim gain can be used to compare your work against a reference track at equal perceived level. The reference track can also be aligned automatically with your file by enabling Loudness in the Monitor section.
- Each reference track can be adjusted in level from –10.0 dB to +10.0 dB, using the REF Track Trim area of the Project Settings menu.
- The Trim is only available when the Loudness Compensation is turned off in the Monitor Output section.
- Note that each of the reference tracks can have a different trim level.
- The Trim for the selected REF track can also be adjusted using the trim area at the bottom of the Main REF Meter display. (There is just one trim, but it can be adjusted from two areas for convenience.)